Vegan Cauliflower Bolognese (GF, DF, V)

This plant based bolognese is my absolute FAVORITE “meat” sauce! While I come up with 99% of the recipes, my boo also likes to get in the kitchen and get creative. This is actually his recipe and one he likes to make often for us as he’s mastered the flavor and texture to perfection. I now like to take this sauce and make additional recipes to show just how versatile this sauce can be. This is going to be a fan favorite in your house hold – promise!

Vegan Cauliflower Bolognese (GF, DF, V)
 
Prep time
Cook time
Total time
 
Serves: 6-8 servings
Ingredients
  • 2 cups frozen or fresh cauliflower rice
  • 3 cups raw walnuts, finely diced
  • 4 tbsp olive oil
  • ½ tsp black pepper
  • ½ tsp parsley
  • ½ tsp garlic powder
  • ½ tsp onion powder
  • 1 cup baby bella mushrooms, diced
  • ½ white onion, finely diced
  • 2 garlic cloves, minced
  • 56 oz of marinara or tomato sauce
Instructions
  1. Preheat oven to 400 degrees F.
  2. Place parchment paper on a baking tray and dice all ingredients while the oven preheats. (If cauliflower is frozen, make sure to leave it out to thaw or thaw it in the microwave.)
  3. Process the walnuts in a high power blender or food processor until the walnuts are finely diced (you want small chunks and not a flour consistency!)
  4. In a large bowl, add cauliflower rice, walnuts, 2 tbsp olive oil, black pepper, parsley, garlic powder, and onion powder. Mix until well combined.
  5. Place on mixture on baking tray and spread out mixture evenly so it browns well. Bake for 15 minutes.
  6. Take the tray out and toss mixture. Bake for another 10 minutes.
  7. While the cauliflower and walnut mixture is still baking, add tomato sauce to a large sauce pan and start to simmer on low.
  8. Then heat up a skillet on medium-low heat and add 2 tbsp olive oil. Then add in mushrooms, onions + garlic and sauté for about 5-10 minutes until the mushrooms and onions have softened. Once it’s done, add it to the sauce in the the sauce pan
  9. Finally, toss mixture one more time and bake for a final 5 minutes. You want the mixture to look like “chopped meat”.
  10. Once the cauliflower + walnut mixture has browned, add it to the sauce as well.
  11. Let the sauce simmer for about 10-15 minutes, stirring occasionally.
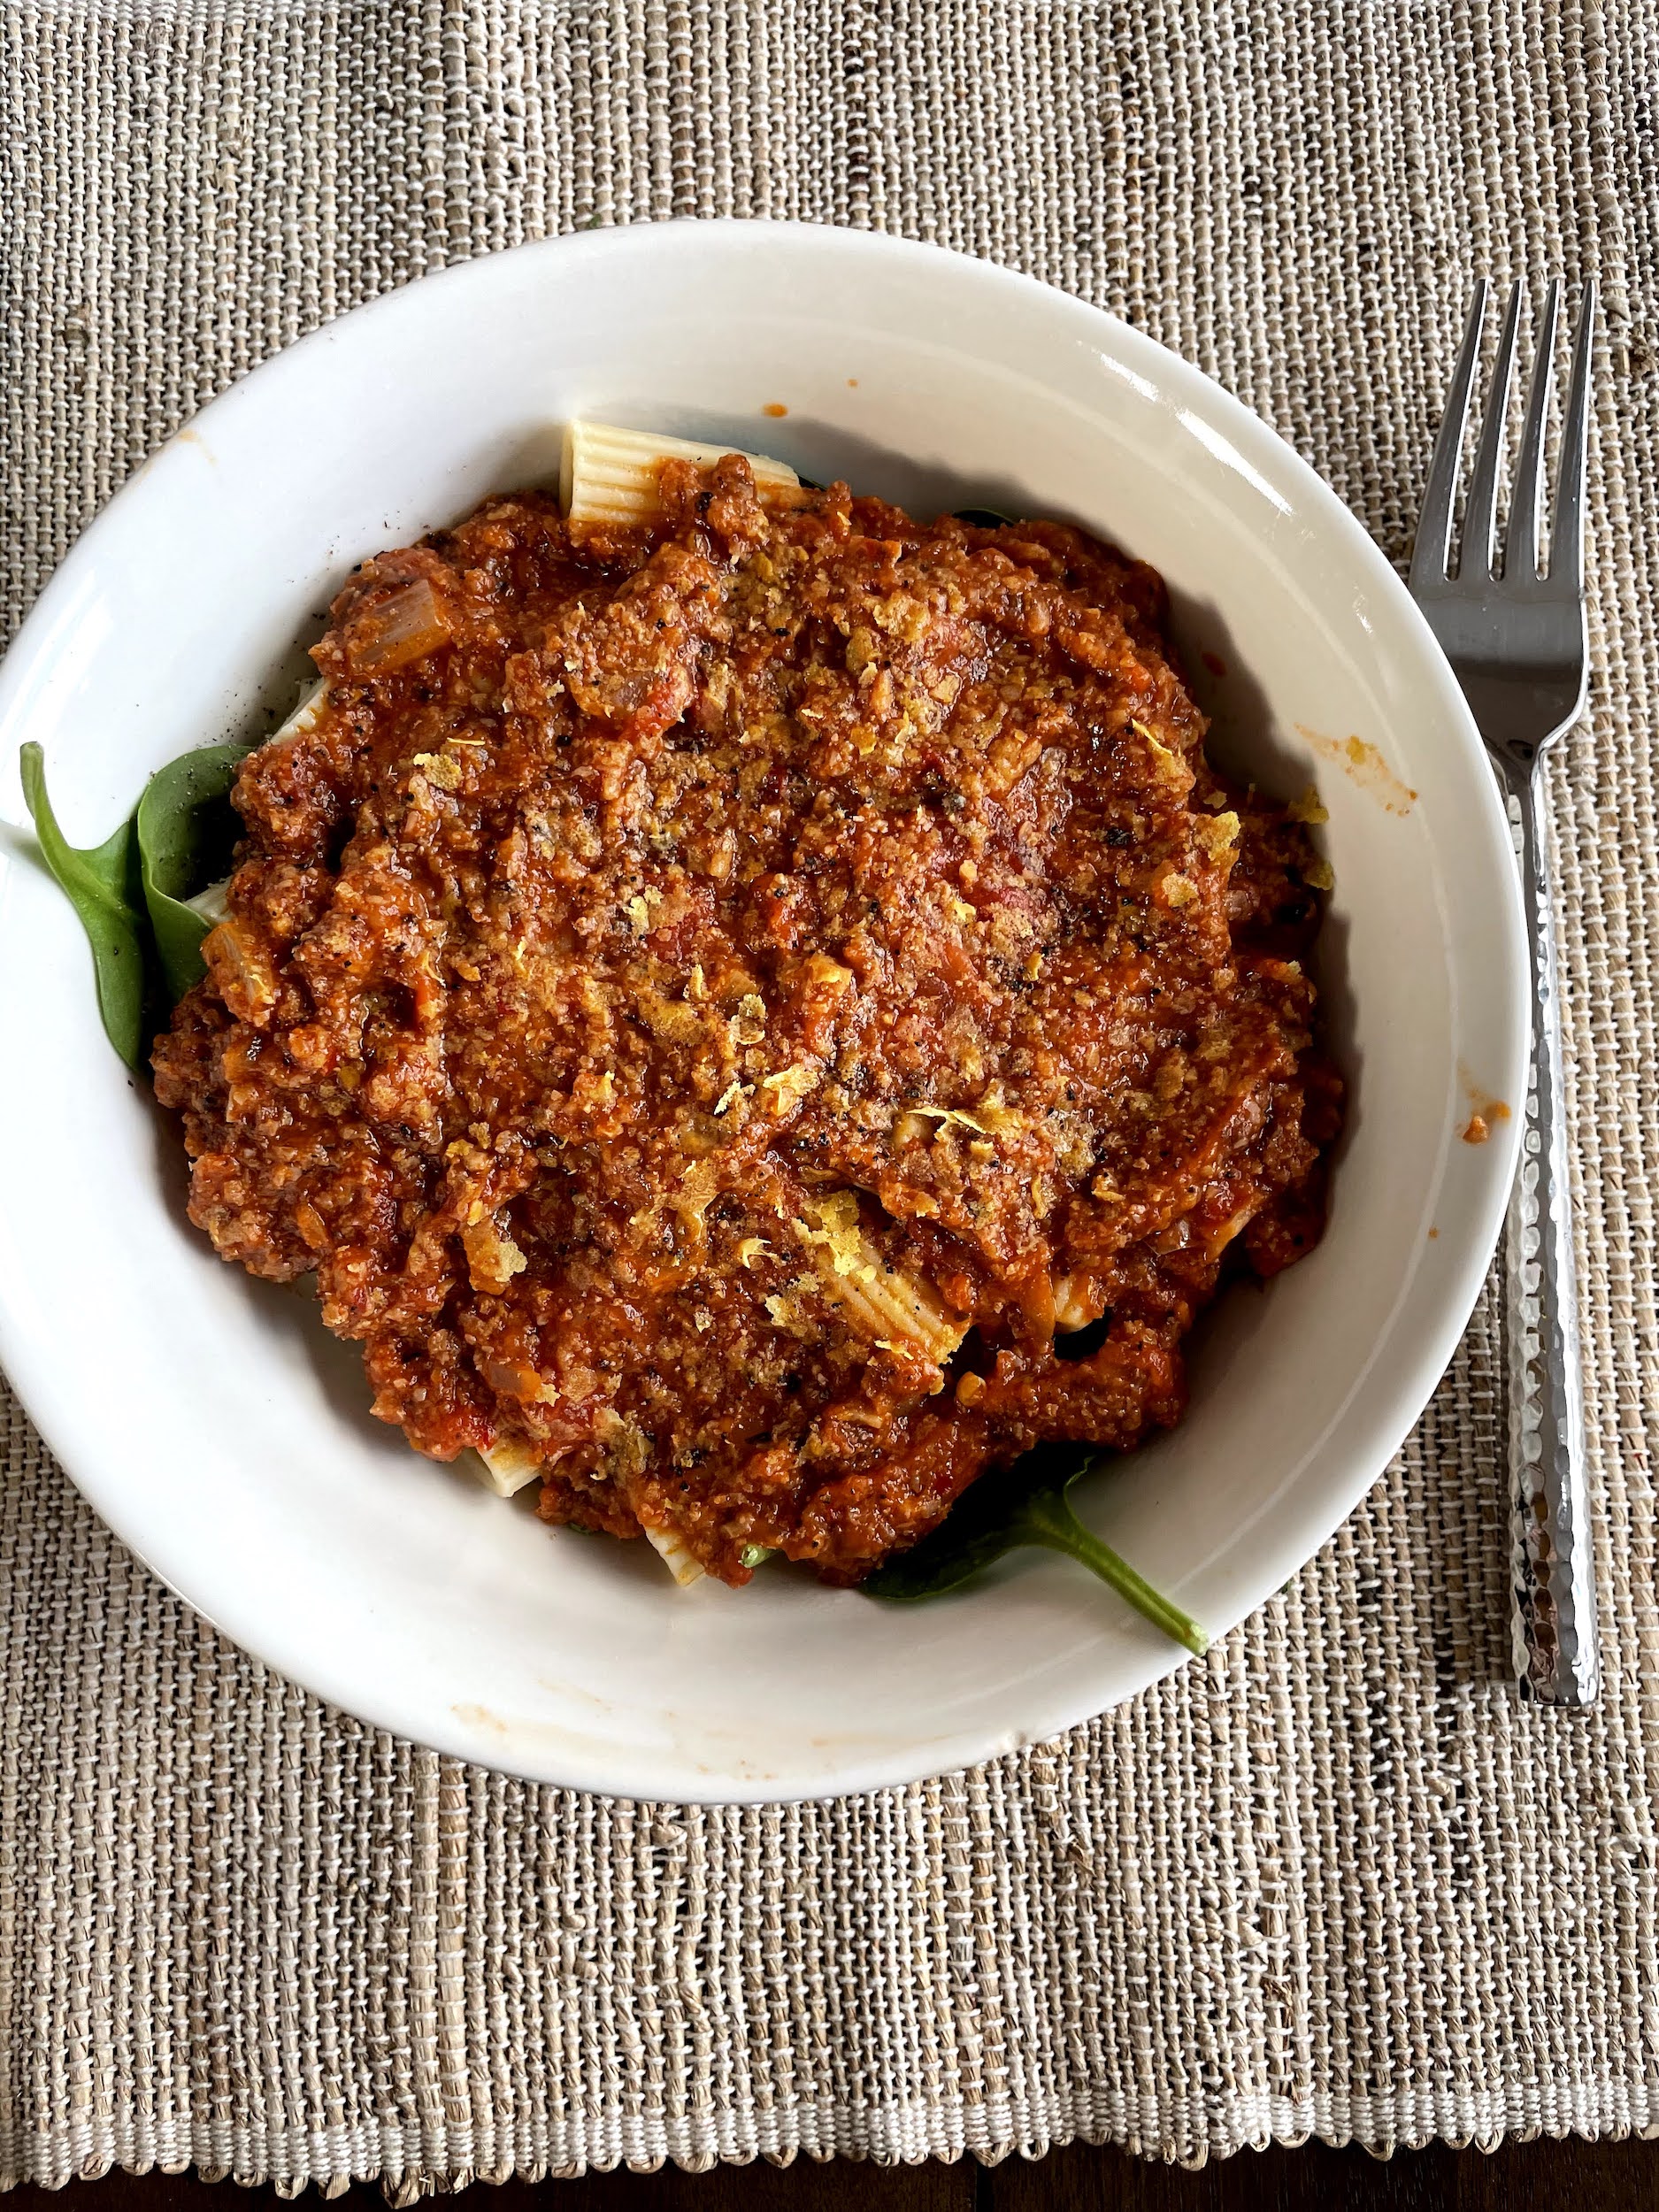
  12. Serve with your favorite healthy pasta and greens and enjoy! Lasts 2 weeks in the fridge and a few months in the freezer.


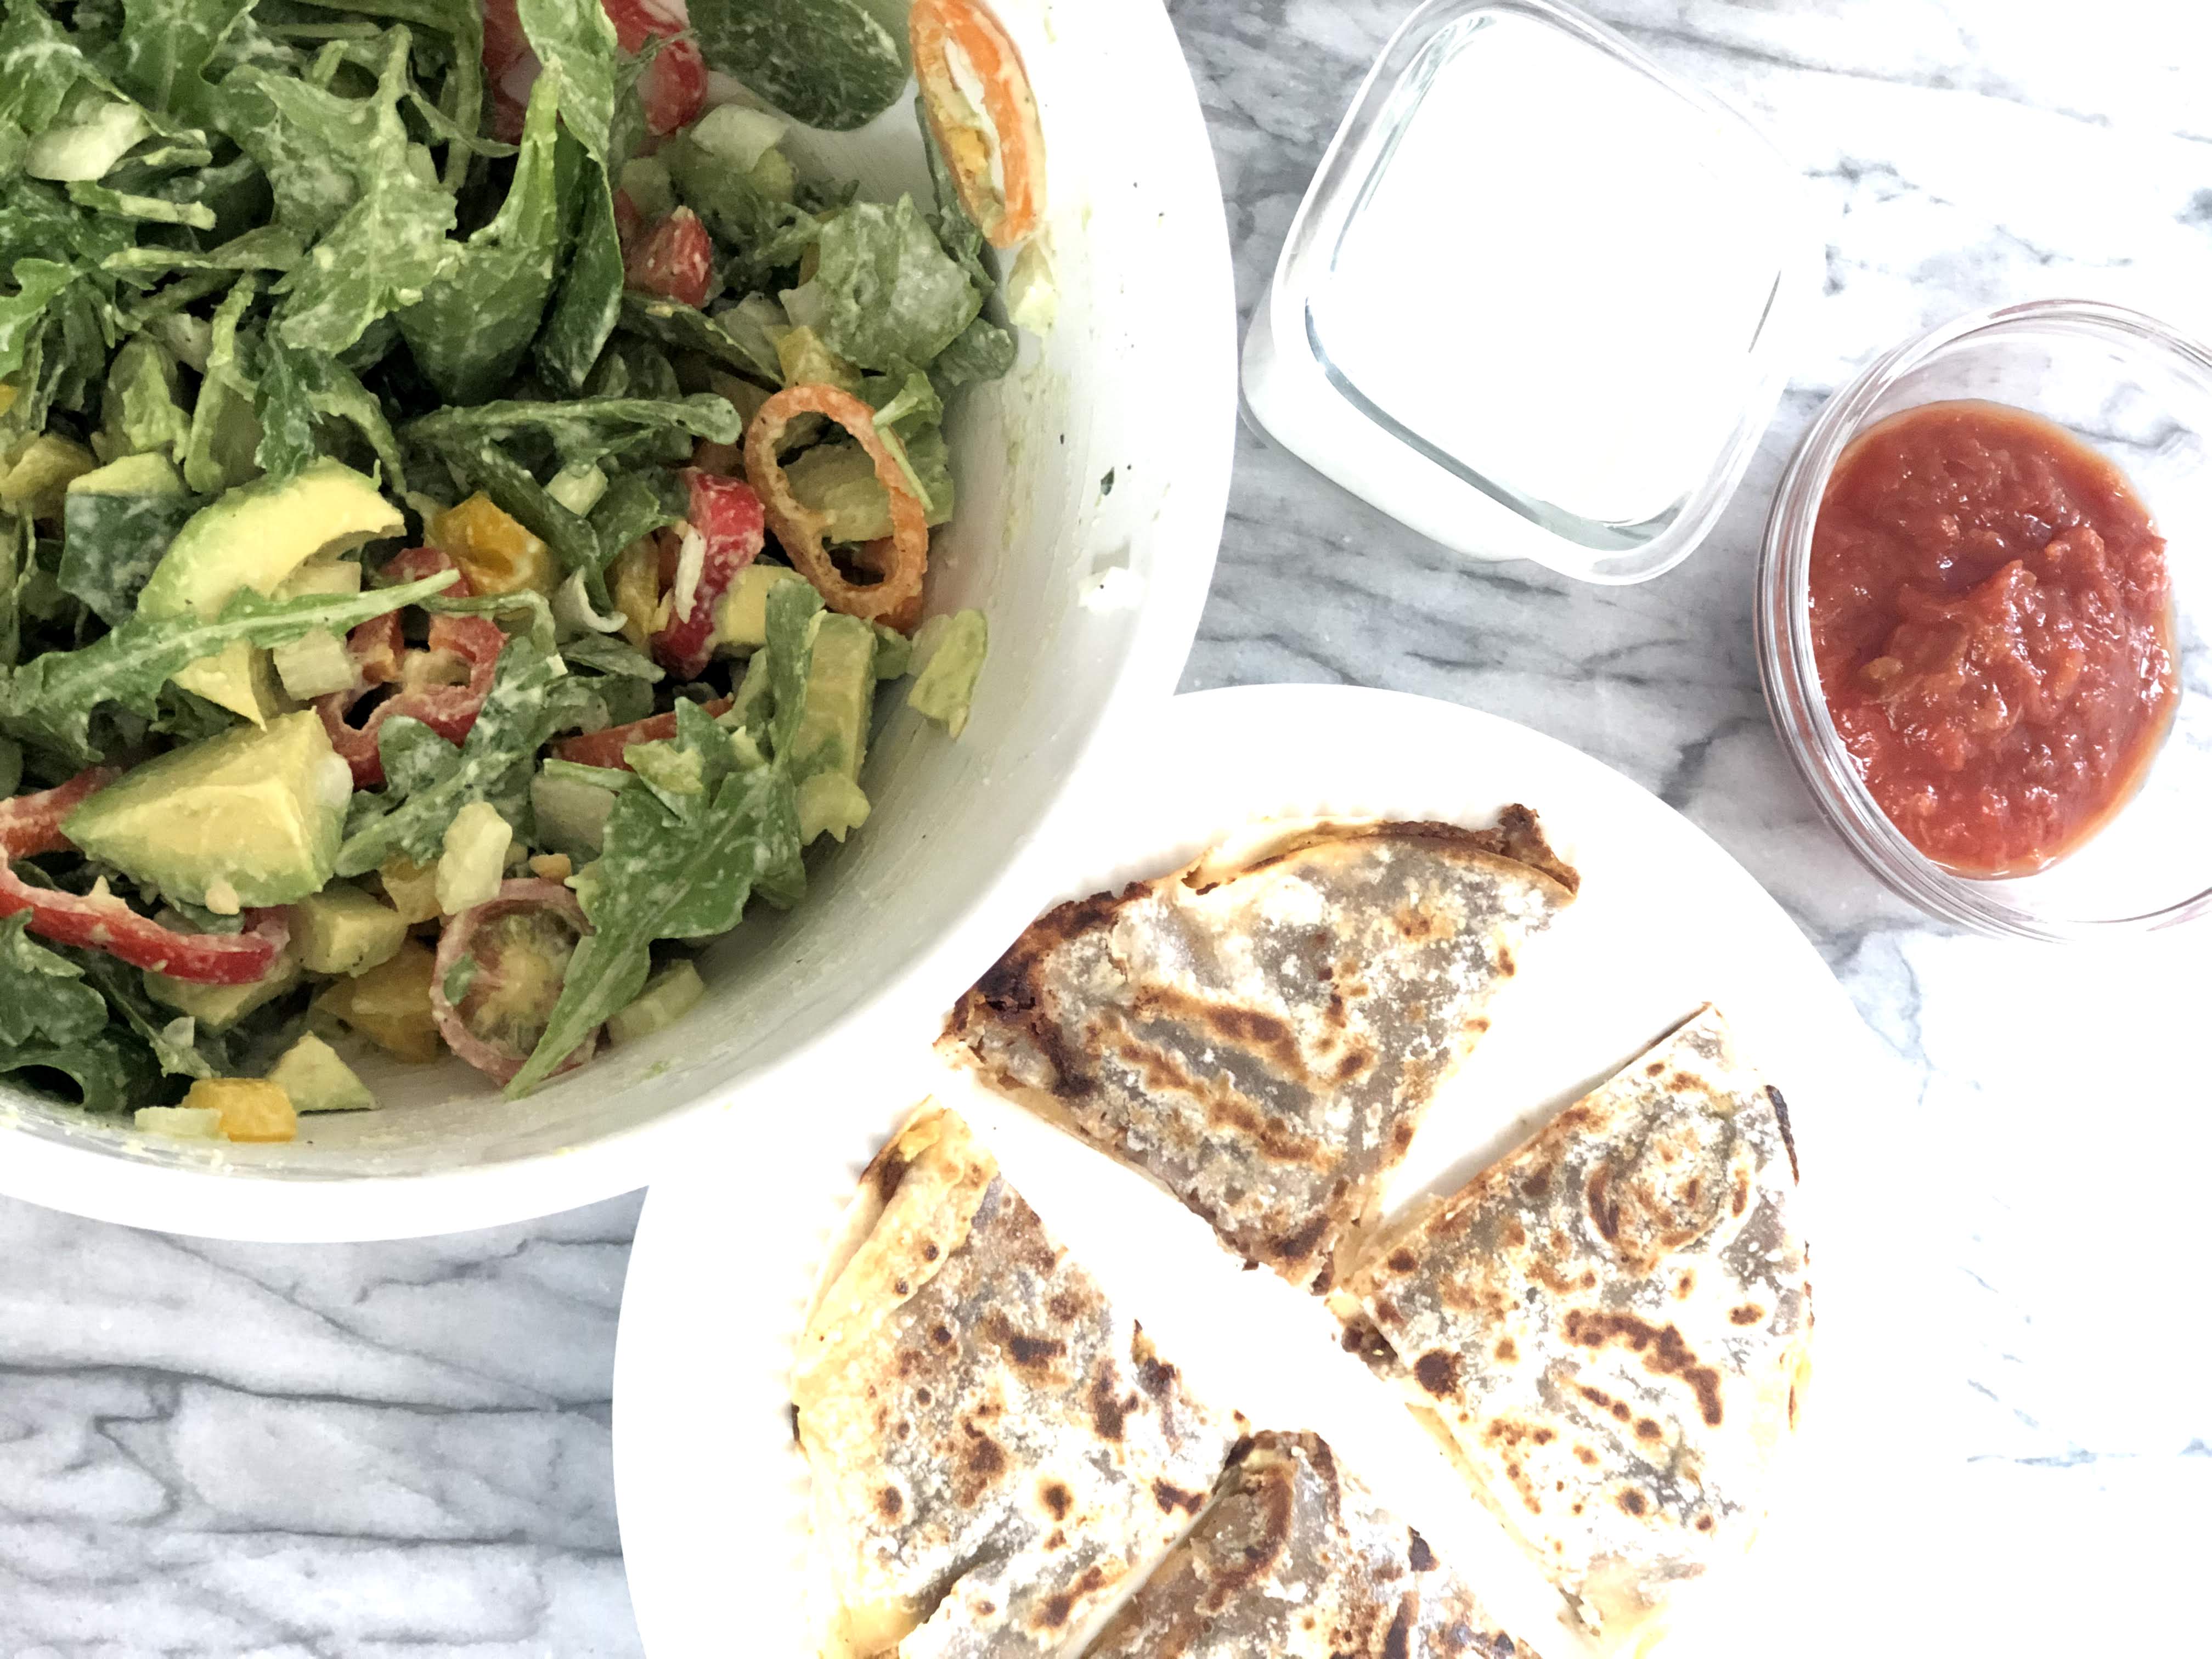
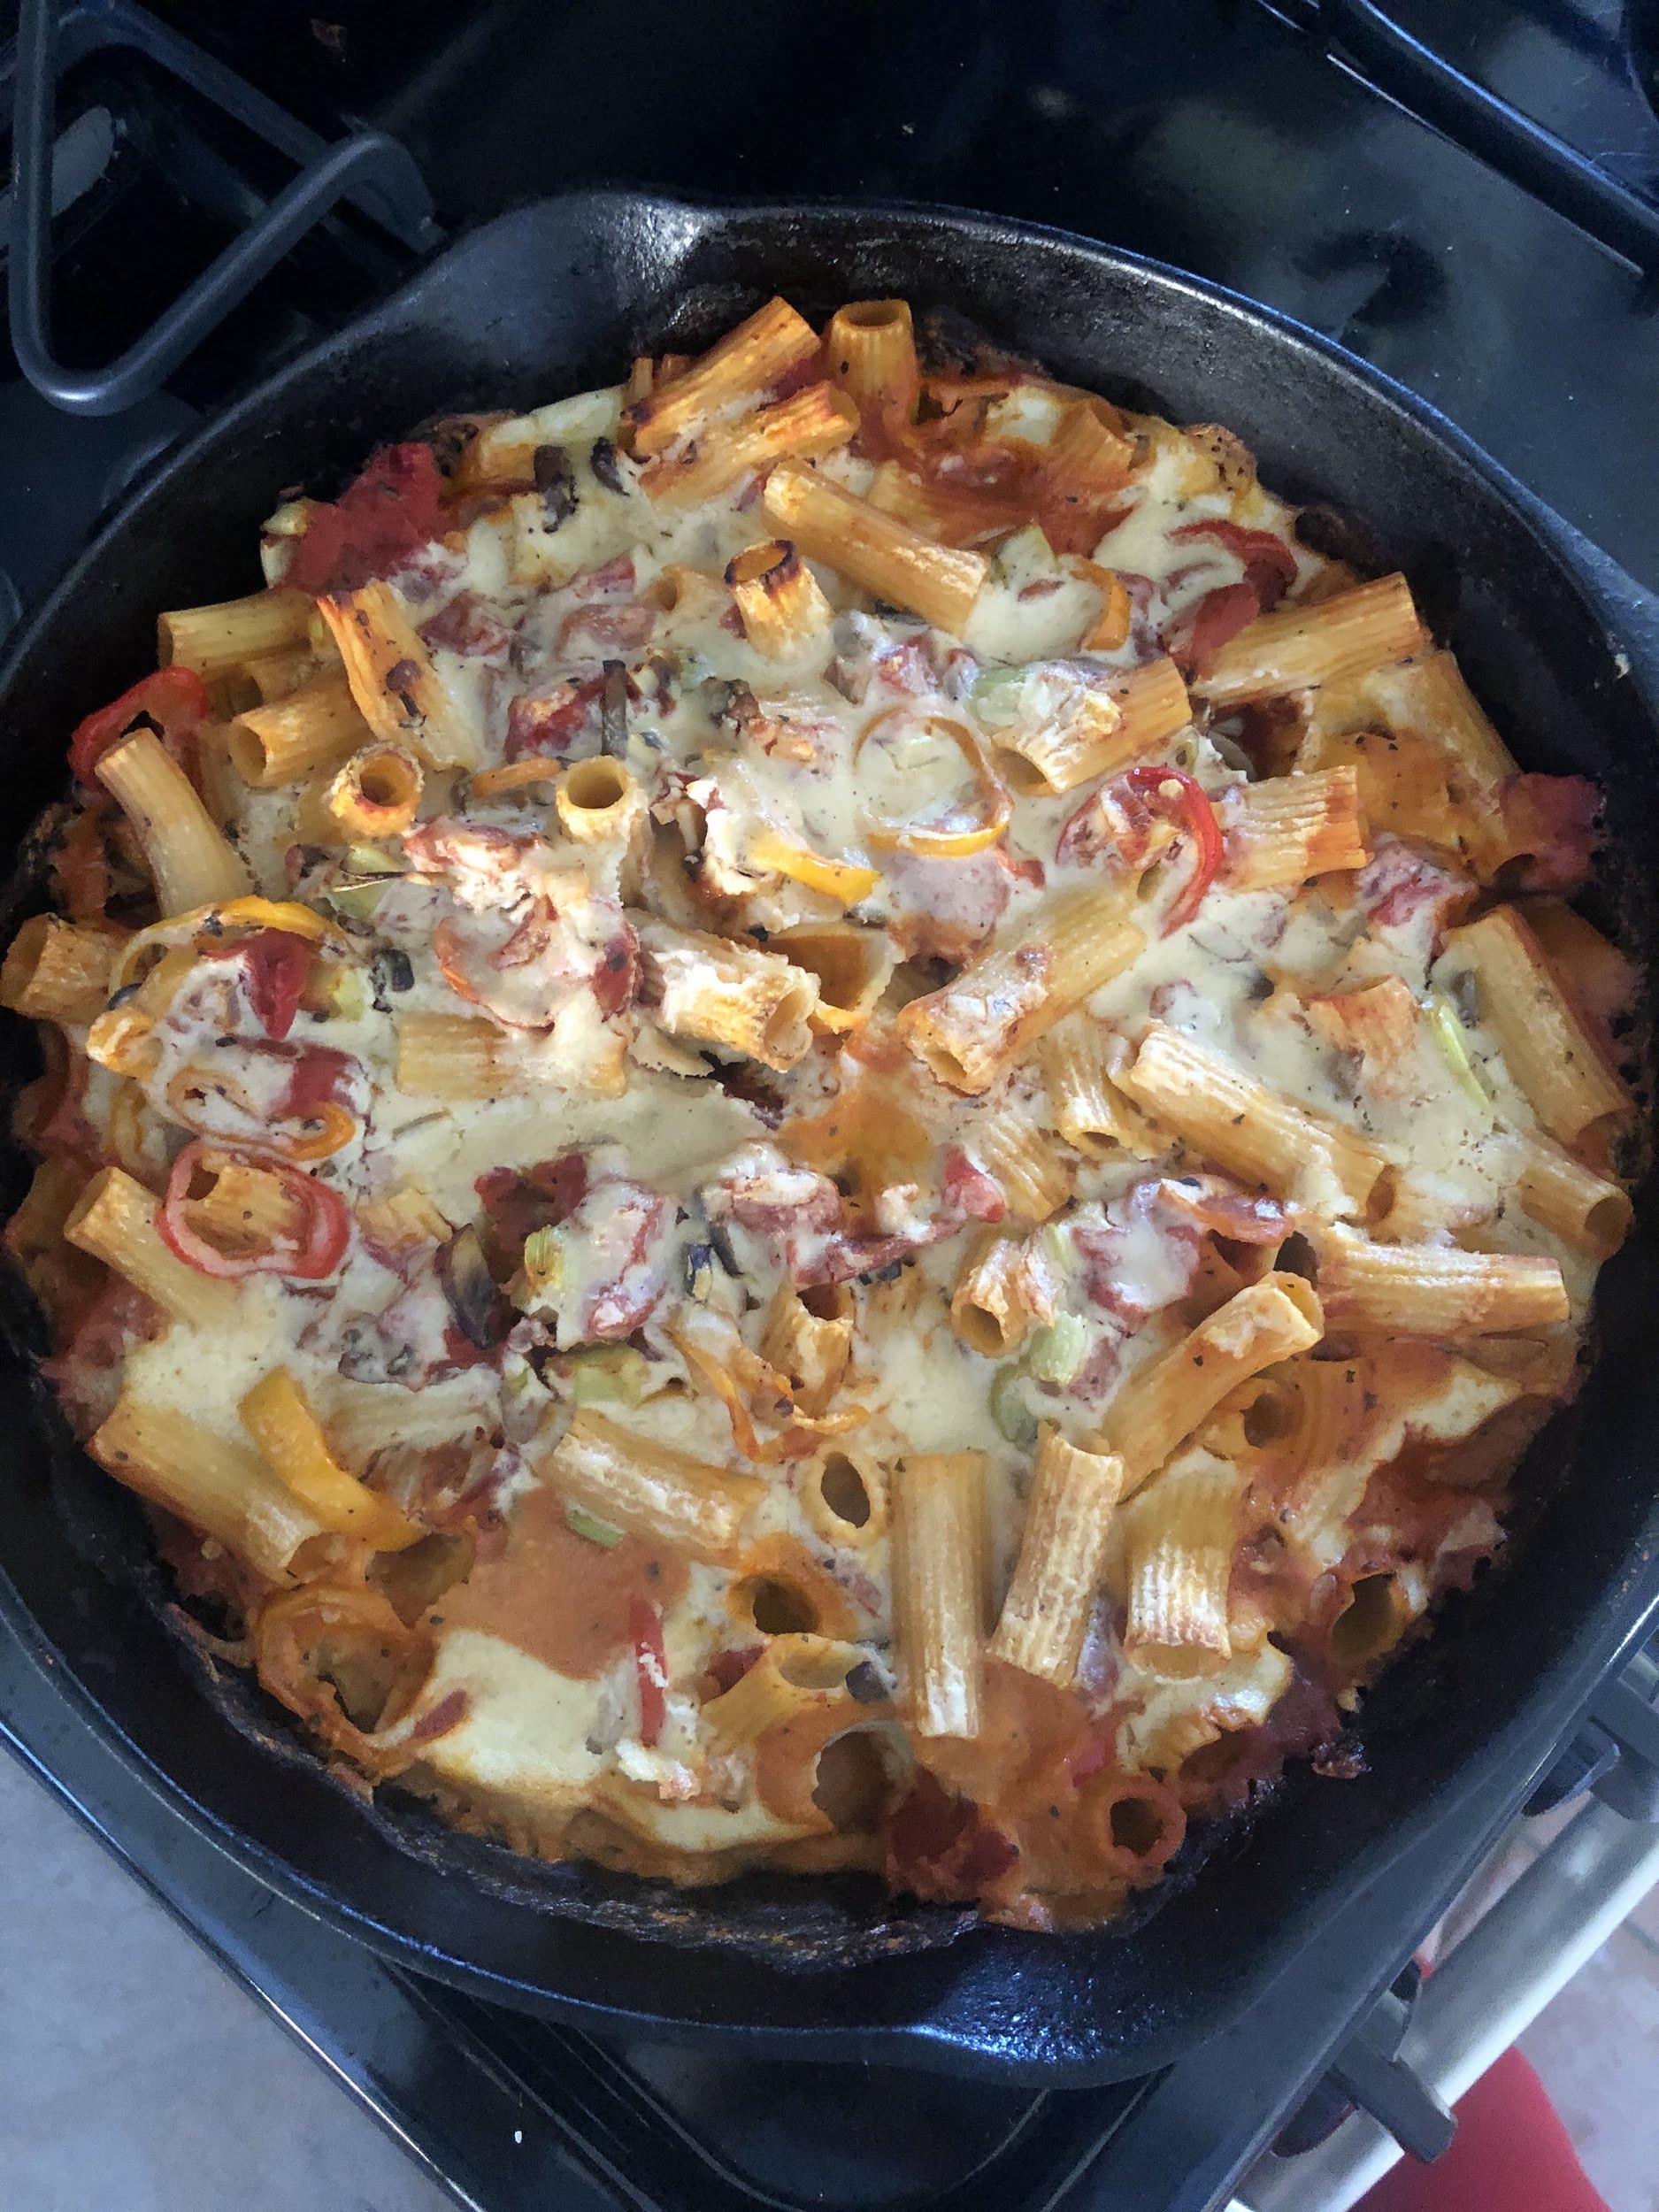
Leftovers are also great on pizza for a more satisfying pizza! Stay tuned for more recipes on how to use the cauliflower bolognese 🙂

With Health + Happiness Always,
Jax

PS – Want more recipes that taste amazing but are also good for you AND DETOX your body?! Sign up for the 12 Day Real Food Reboot launching on Monday, January 3rd and kick off 2022 feeling your BEST!

Coconut Whip Cream (V, DF, GF)

Not going to lie, but I’ve been eating a healthy dessert almost every night since I got pregnant! I recently wanted to have berries with coconut whip cream, but couldn’t get myself to buy the store bought brand because all of the extra ingredients. I knew that I had come across a recipe for coconut whip cream that only used a can of coconut cream so decided to give it a whirl and it was absolutely so easy and tasty! I knew I would love it because I already love when the coconut milk in my fridge hardens + becomes a thicker, yogurt like consistency. This surpassed by expectations and more and really couldn’t have been more simple!


Coconut Whip Cream (V, DF, GF, NF)
 
Prep time
Total time
 
Serves: 4-6 servings
Instructions
  1. Place the can of coconut cream for at least 30 minutes in the fridge (ideally longer is better to get create more coconut cream by solidifying the coconut!) I recommend doing this while you're making dinner so it's chilled by the time you're ready for dessert.
  2. Scoop out the solidified coconut cream out of the can and into a large bowl. Add 1 tbsp of coconut liquid from the can into the bowl and then you can keep the remaining liquid for smoothies.
  3. Add in 1 tsp of vanilla extract. (Option to add a splash of sweetener like stevia, monk fruit or coconut sugar but I loved it unsweetened!)
  4. Using a hand or standing mixer, mix the coconut mixture on low and slowly increase the speed until you fluffy whipped peaks start to form.
  5. Serve immediately with berries or your favorite dessert. Lasts for up to a week in the fridge.


This whip cream tastes like heaven – you’re welcome!

With Health + Happiness,
Jax

PS – Want more recipes for your favorite comfort foods?! Sign up for my Little Adapts By Jax App and get access to my Clean Comfort Cookbook + so much more!

Vegan Queso Cheese (can be made nut-free!)

I’ve been dairy-free since 2013 and the hardest part for me was giving up cheese! At the time, there were very few dairy-free cheese alternatives and to be honest – the quality of the ingredients, the taste, and the melt factor were just not there. This past year I’ve gotten into making my own vegan cheeses and it’s changed my life! They are made with real ingredients, taste amazing and they actually melt and have real cheese consistency. Note: If you’re allergic to nuts, you can totally make any of my vegan cheeses with hemp hearts and it’s just as amazing!

This queso was originally posted in my sweet potato nachos recipe, but I wanted to make sure it was easily accessible if you wanted to use it for dipping or quesadillas!

Vegan Queso Cheese
 
Prep time
Total time
 
Serves: 2-4
Ingredients
Instructions
  1. Place all ingredients into a blender or food processor.
  2. Slowly increase the speed until the blender is on high and everything is one consistent color.
  3. Enjoy for dipping, drizzling over nachos or using in your quesadilla! Stays for up to a week in the fridge.


Cheers to the New Year!

With Health + Happiness Always,
Jax

PS – Want to kick start your 2021? Join the Little Adapts x Legs by Lauren Reboot starting on Monday, January 11th!

Vegan Mozzarella Sauce

I’ve been dairy-free since 2013 when there weren’t a ton of dairy-free options available. In the fact, the dairy-free cheese was pretty terrible that I gave up cheese altogether. Fast forward about 7 years and there are so many different dairy-free cheese products available. Luckily, they taste much better and are made with much healthier ingredients. The only major issue is that the dairy-free cheese does NOT MELT like real cheese!

Earlier this year, I decided to make a baked pasta dish and created this AMAZING vegan mozzarella cheese recipe. I use it for my pasta, pizza, mac n cheese, buffalo dip, etc. This cheese will thicken when it’s heated, creating a really creamy/melted consistency. Since I started making this cheese, I haven’t bought any dairy-free cheese in months. You can make it minutes just using a high power blender or food processor. *Note: The consistency is pretty thin/liquidy until it is heated but this is normal so don’t worry!


Vegan Mozzarella Sauce
 
Prep time
Total time
 
Serves: 4-6 (1/4 cup per serving)
Ingredients
Instructions
  1. Place all ingredients into a high powered blender or food processor.
  2. Start the speed on low and then slowly increase to full speed as you want all of the ingredients to be pureed and one consistent color. It will be liquidy and that's ok!
  3. Pour over your pasta or drizzle on your pizza for an amazing vegan cheese taste! *Note: Store in the fridge in a sealed container for up to 5 days.


With Health + Happiness Always,
Jax

PS – Want to learn more about my upcoming nutrition + fitness programs? Sign up for a complimentary health consultation by clicking here!


Pad Thai Sauce


Pad Thai Sauce
 
Prep time
Cook time
Total time
 
Author:
Serves: 6
Ingredients
Instructions
  1. Place all ingredients in a high power blender or food processor in the order listed above.
  2. Mix until you get a sauce like consistency. *Note: If too thick, add 1 tbsp of water at a time until you get desired sauce texture.
  3. Pour 2 tbsp over stir fry veggies and pad thai rice noodles or sweet potato/zucchini/squash noodles. Option to throw grilled chicken or another protein on top. Mix everything together. *Note: I cooked the veggies in sesame oil as well to enhance the flavor, but you can use any oil that you wish!
  4. Serve with crushed up dry roasted peanuts and sesame seeds. Enjoy!


Avocado Pesto Sauce


Avocado Pesto Sauce (Plus sample dish!)
 
Prep time
Cook time
Total time
 
Author:
Serves: 6
Ingredients
  • 2 cups of fresh basil
  • 2 ripe avocados
  • ½ cup of walnuts
  • Juice from 1 lemon
  • 3 cloves of garlic
  • ½ cup olive oil
  • ¼ cup avocado oil
  • Salt and pepper to taste
Instructions
  1. Put all ingredients in a Vitamix or food processor, and start to blend slowly. Gradually turn up the speed until it's at the highest speed and everything is mixing well and heated up.
  2. (Note above prep time is for avocado pesto sauce. The whole meal will take you about 30 minutes to make.) Preheat the oven to 400 degrees. Then cut up a head of broccoli into florets, wash, dry and throw on a baking sheet. Coat with coconut oil spray, s&p, and turmeric to taste. Cook for about 15-20 minutes until browned and broil for about 3 minutes at the end.
  3. While broccoli is baking, put 2 cups of water in a pot with a little salt and start boiling. Once you bring it to a boil, throw in some brown rice pasta and follow directions. I love the Lotus Foods Organic Millet & Brown Rice Ramen.
  4. Lastly, cut up vine tomatoes into chunks.
  5. Put pasta in individual bowls and pour over avocado pesto sauce. Top with baked broccoli and tomato chunks. Enjoy!