I was always hit or miss with salmon until I got pregnant! It’s one of the foods I consistently crave, which makes sense as my body requires a lot of omega-3 fatty acids (DHA) to support my growing baby. I also think it really makes a difference if that fish is super fresh and of course wild caught. We made this salmon on the grill and it totally hit the spot in every way. It’s perfect for the summer and super easy to throw together!
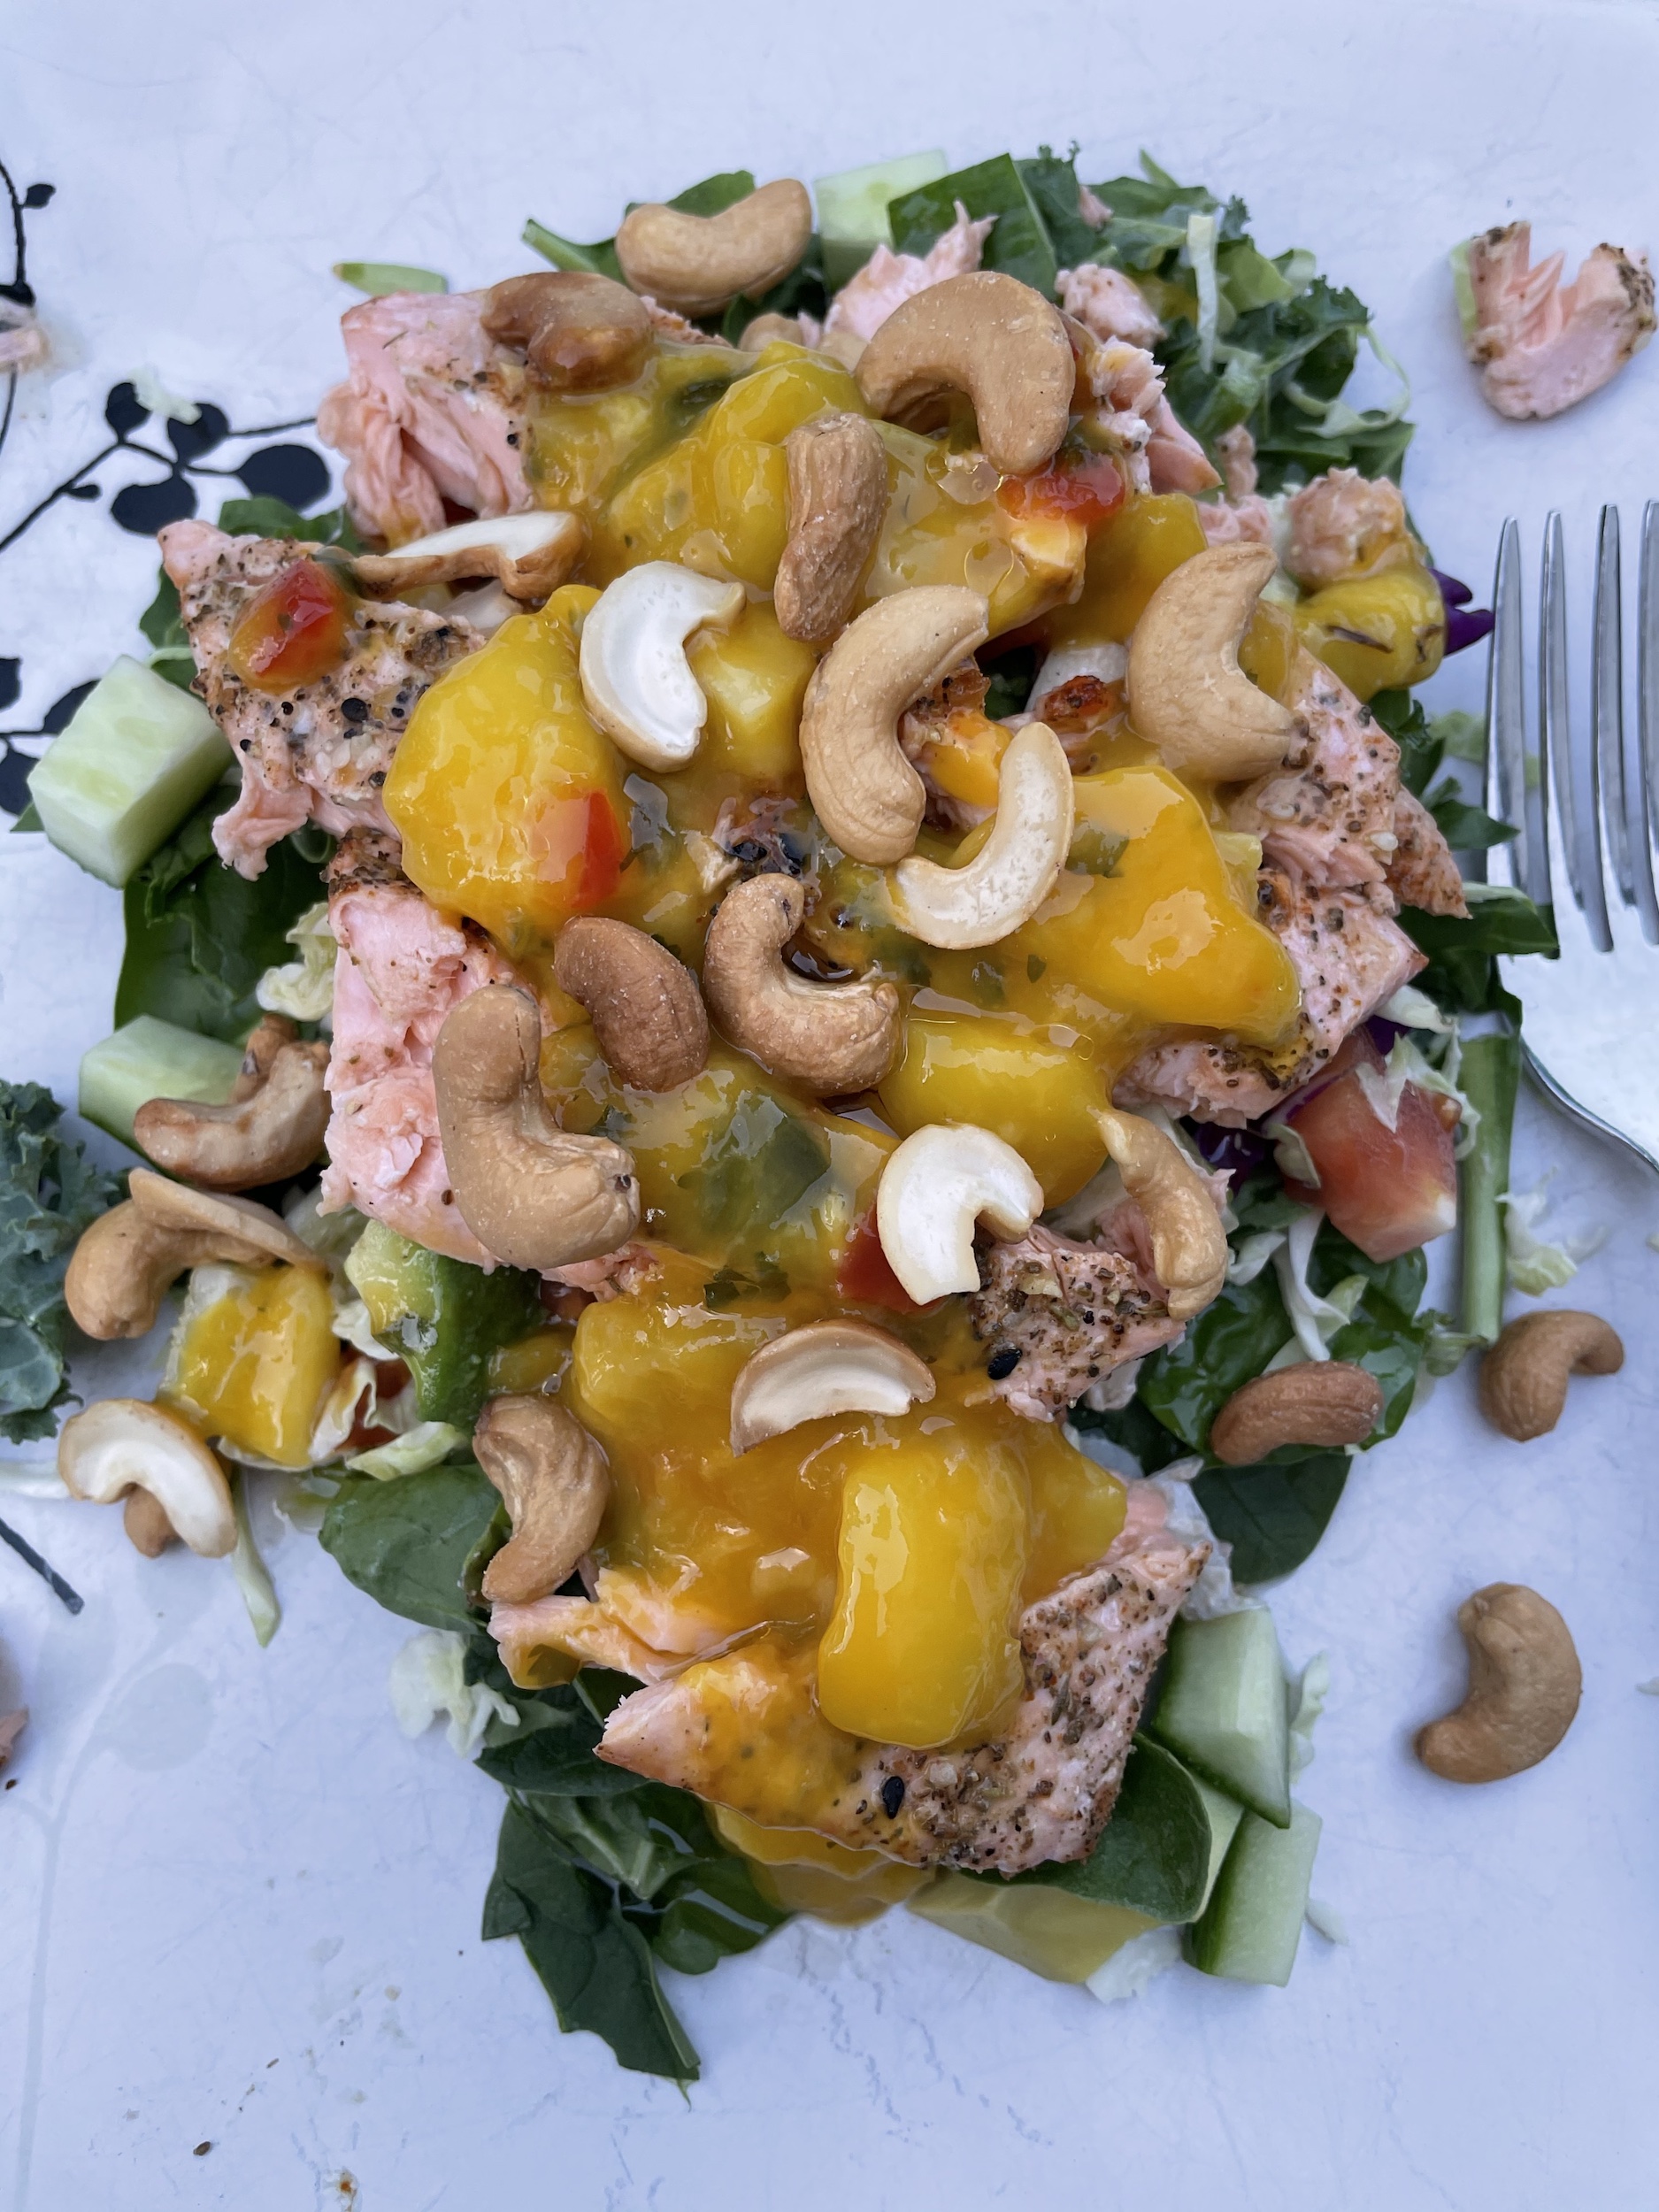
Grilled Salmon Salad with Mango Salsa

Prep time
Cook time
Total time
Author: Little Adapts By Jax
Serves: 2 servings
Ingredients
- 1 lb wild caught salmon steak seasoned with EBTB, black pepper, paprika + cajun seasoning to taste
- 2 cups baby spinach, shredded
- 1 cup shredded Brussel sprout and kale mix
- ¼ cucumber, diced
- ⅓ tomato, diced
- ½ avocado, diced
- 4 tbsp mango salsa
- 1 tbsp olive oil
- 2 tbsp roasted cashews
Instructions
- Heat grill to 500 degrees.
- Place salmon on tin foil and season with EBTB, black pepper, paprika + cajun seasoning to taste. Then transport foil directly to grill and cook for 6 - 8 minutes with the grill top down.
- While the salmon is cooking, dice all salad ingredients and place on a plate in the order listed above except for mango salsa, olive oil, and cashews.
- Once salmon is cooked through, take off the grill and slice. Then put half on each salad.
- Top with 2 tbsp of mango salsa on each salad and drizzle each salad with ½ tbsp of olive each.
- Top each salad with 1 tbsp roasted cashews and enjoy!
Happy grilling!
With Health + Happiness Always,
Jax
PS – Want to stay consistent with your summer workout routine? Check out the Little Adapts By Jax App for all the workouts you need PLUS healthy recipes, tip + tricks on maintaining a healthy eating routine and ways to manage stress!