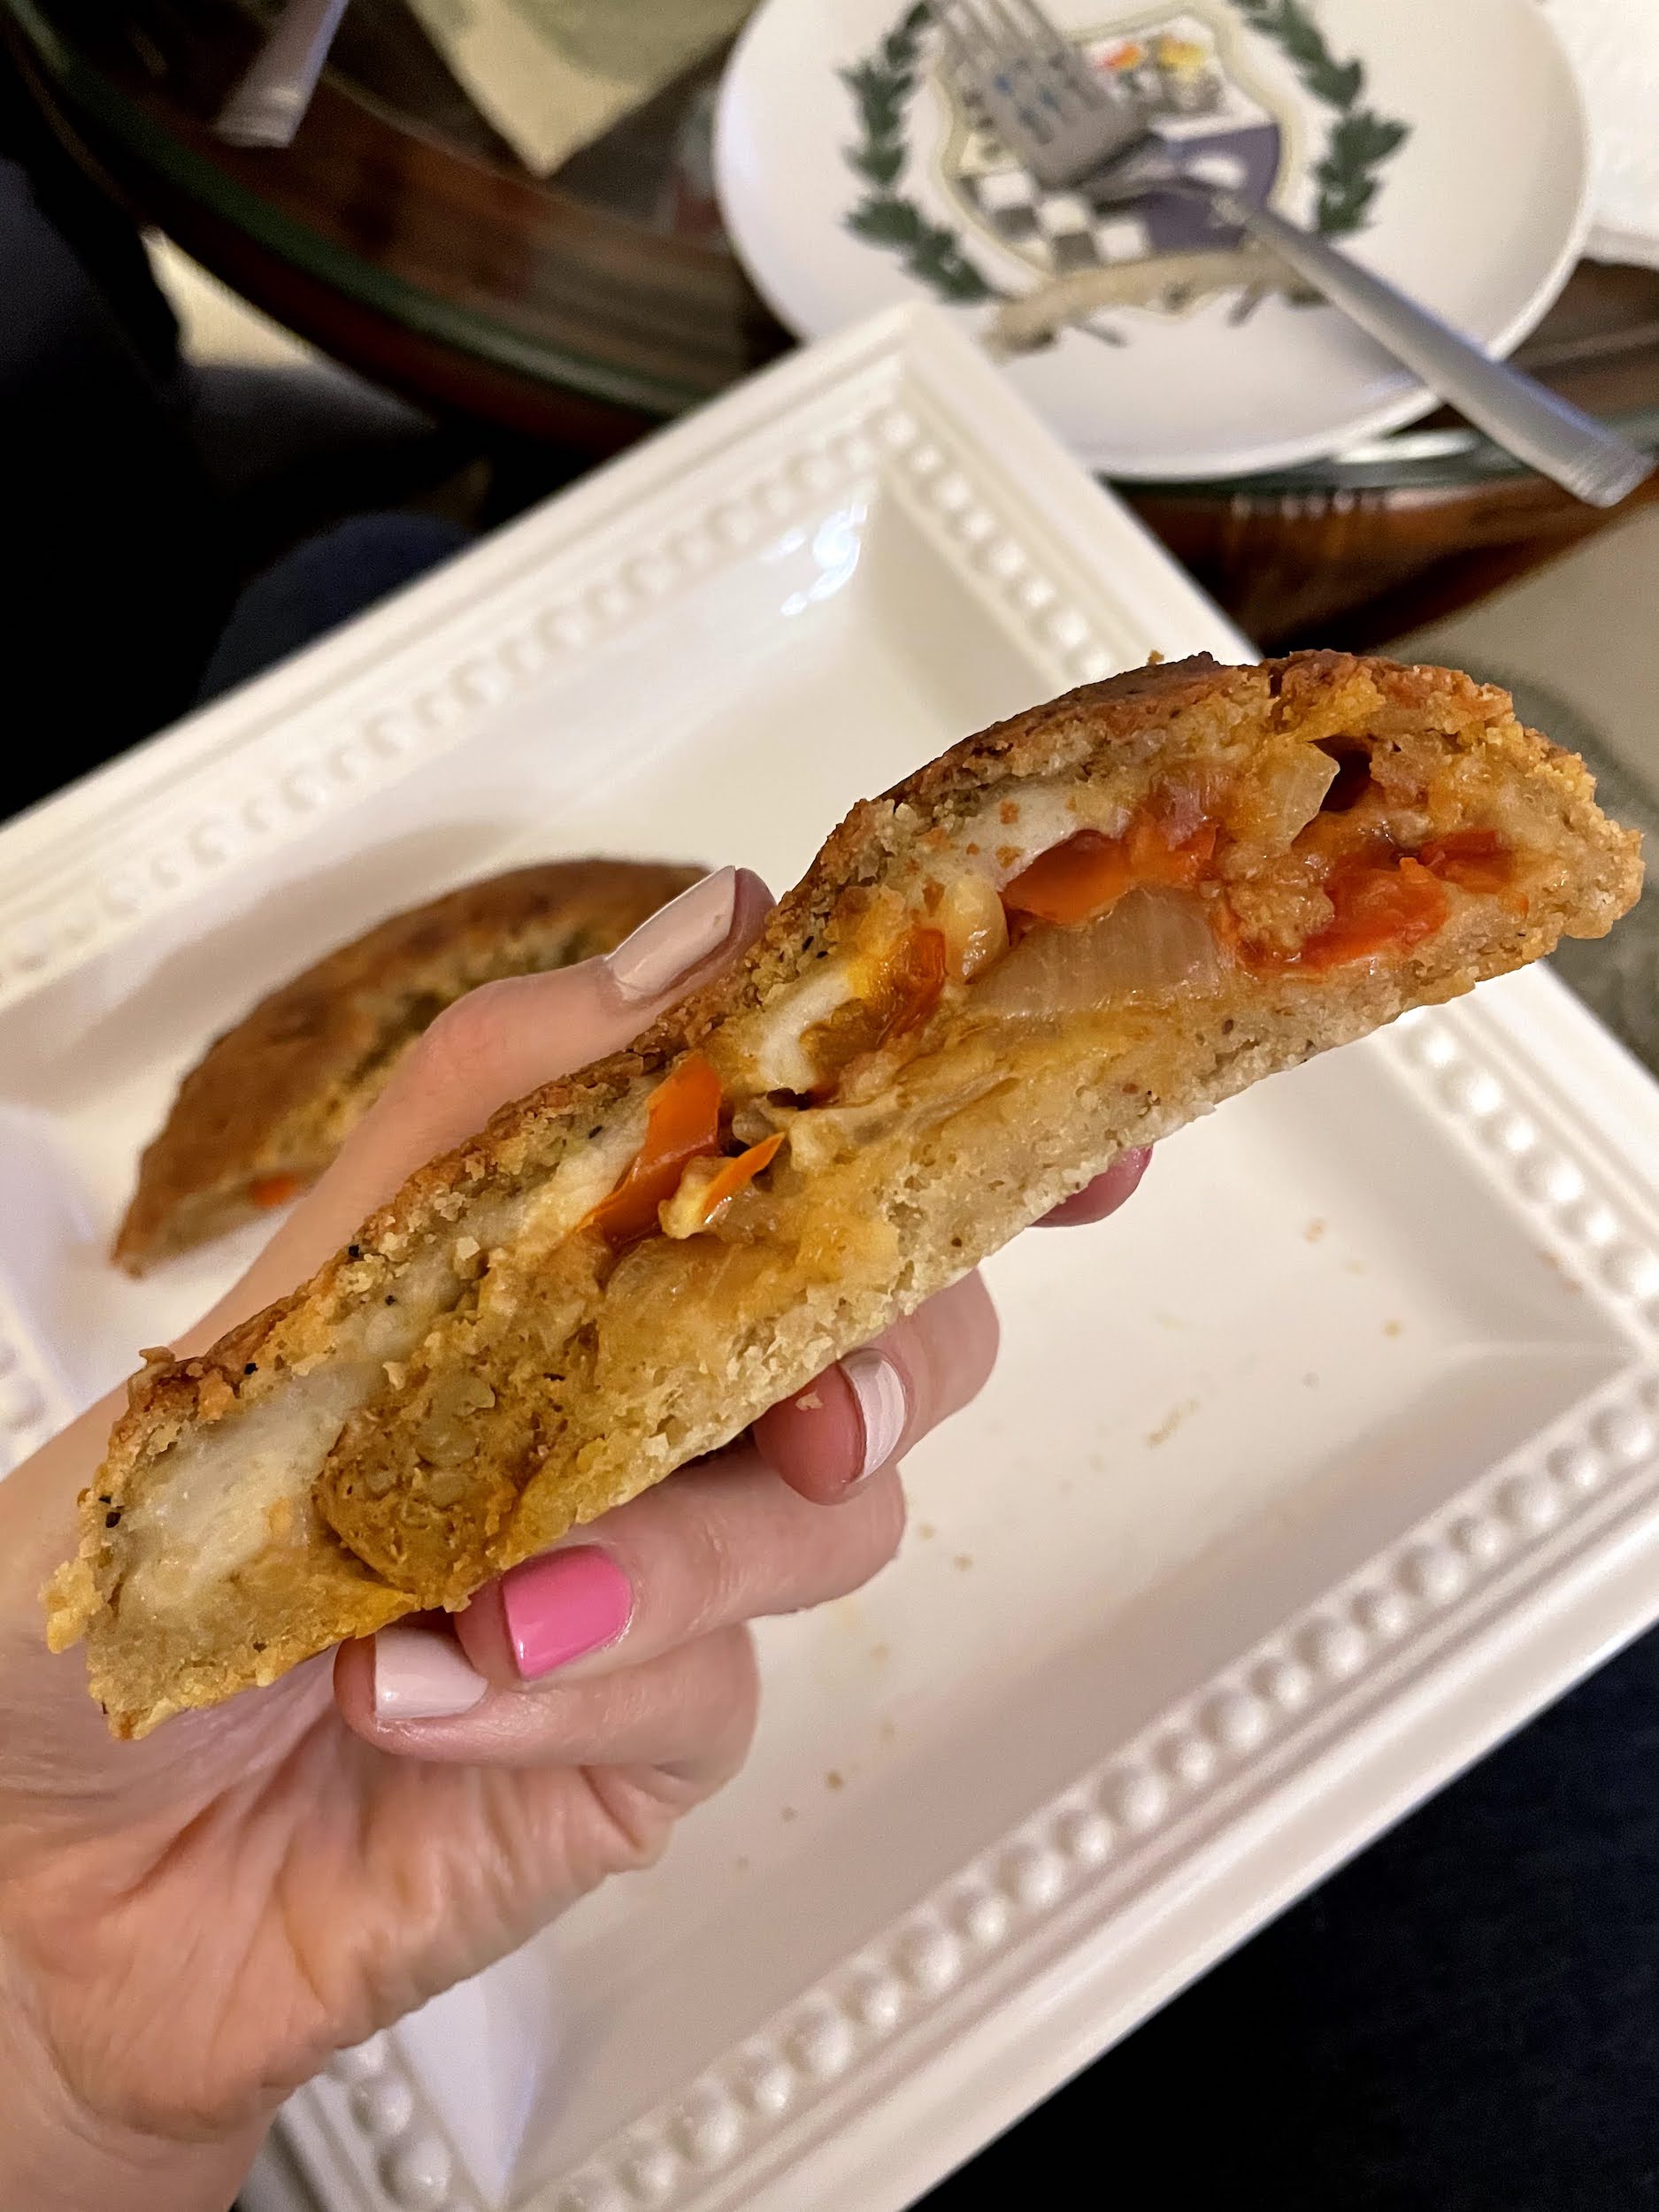
Vegan Sausage + Peppers Strombroli Bread (DF, GF, V)

Prep time
Cook time
Total time
Author: Little Adapts By Jax
Serves: 2-4 servings
Ingredients
- 1 box Simple Mills Pizza Dough
- 1-2 tbsp olive oil
- ½ red pepper, thinly sliced
- ¼ white onion, thinly sliced
- 1 vegan sausage (I used Beyond)
- ⅓ vegan mozzarella block, sliced 5-6 slices (I used Miyokos)
- Optional: ⅓ cup marinara sauce for dipping (I used Rao's)
Instructions
- Preheat the oven to 350 degrees F and place parchment paper on a baking tray.
- Heat a small pan with the olive oil on medium-low heat and sauté the peppers and onions for 10 minutes or so. Feel free to add any spices you wish at this time.
- Once the peppers and onions are done, set them aside in a small bowl and cook the vegan sausage on the pan until it is browned on all sides.
- While the sausage is cooking, follow the ingredients on the pizza dough box to create the dough. Put a little bit of oil on your hands to prevent sticking to the dough and place the dough onto the baking tray with parchment paper. Press the dough into a flat, rectangular shape.
- Once the sausage is done, thinly slice it and place it on half of the dough (keeping enough room on the ends to seal the dough at the end).
- Add the peppers and onions and then layer the sliced mozzarella on top.
- Carefully fold over the other half of the dough over the filling. Make sure to seal the edges of the dough so the filling stays in tact and there are no holes in the dough.
- Bake in the oven for 40 minutes until the bread is golden brown.
- Let it cool for 10-15 minutes and then slice and serve with marinara sauce. Enjoy!

Happy Snacking!
With Health + Happiness Always,
Jax
PS – Looking for motivation this holiday season? Check out my Little Adapts By Jax App to hold you accountable and ready for 2022!